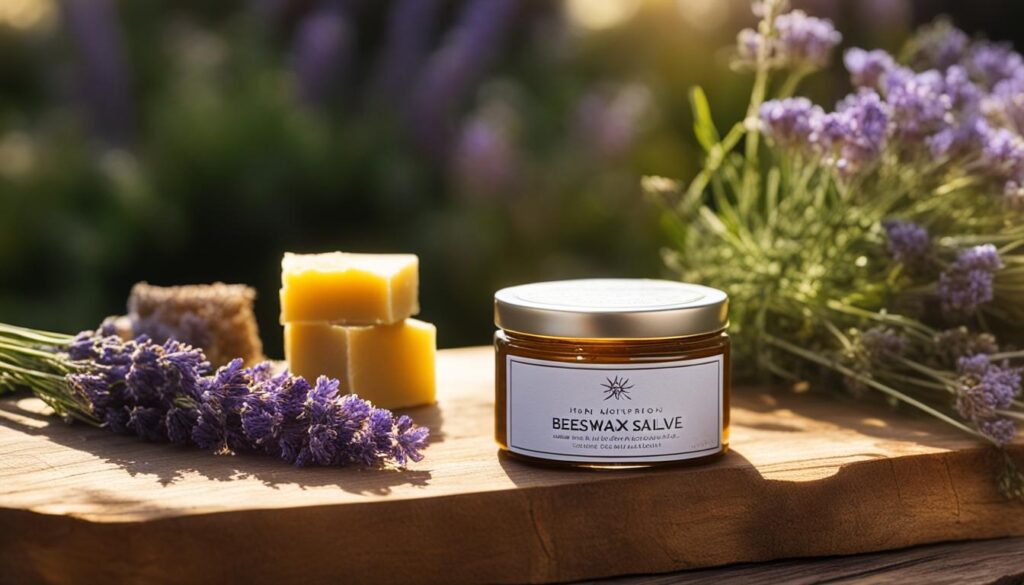
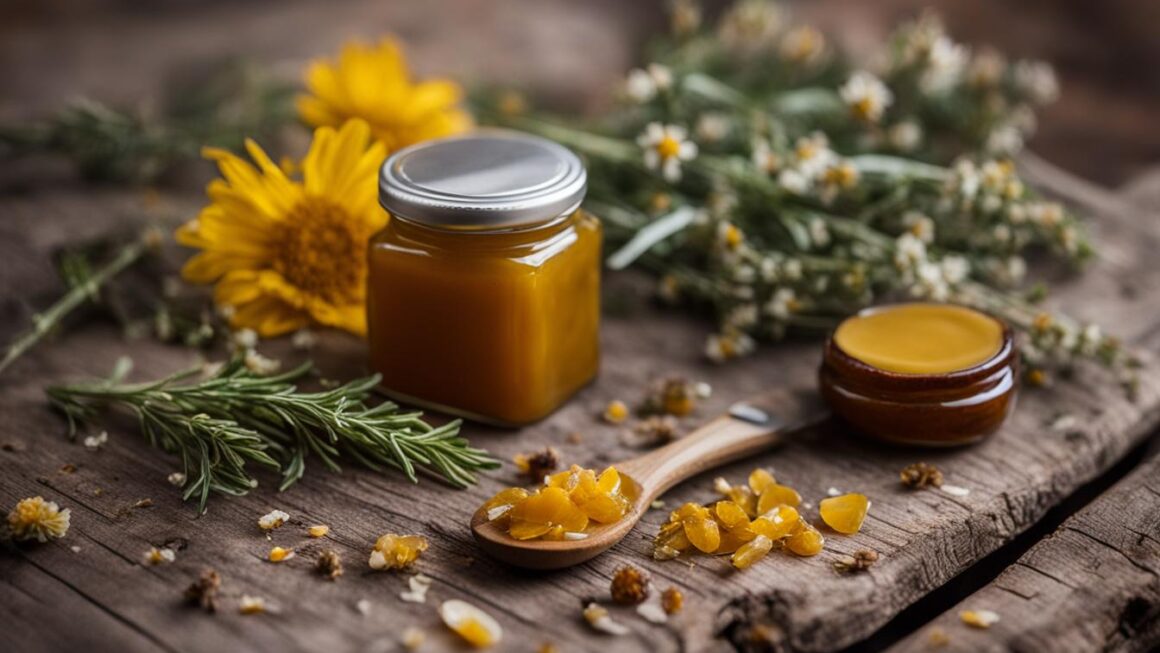
If you’re looking for a natural way to moisturize and heal your skin, look no further than beeswax salve. This all-natural concoction is a simple yet effective way to nourish and protect your skin without harsh chemicals or additives.
In this section, we will provide you with a detailed guide on how to make your own beeswax salve at home. You don’t need to be an expert to create your own natural skincare products – just follow our step-by-step process, and you’ll have your own homemade beeswax salve in no time!
Key Takeaways:
- You can make your own beeswax salve at home using natural ingredients.
- Beeswax salve has moisturizing and healing properties for the skin.
- Our step-by-step guide will help you create your own natural skincare product.
- Homemade beeswax salve is an easy and affordable way to take care of your skin without harsh chemicals.
- With our guide, you’ll have your own DIY beeswax salve in no time.
Benefits of Beeswax Salve
Beeswax salve is a natural skincare product that has been used for centuries due to its numerous benefits and healing properties. This versatile salve can be used to moisturize and protect the skin, as well as provide relief from common skin conditions like dryness, irritation, and inflammation.
One of the main benefits of beeswax salve is its ability to lock in moisture and create a barrier between the skin and external irritants. The beeswax acts as a natural emollient that softens and soothes the skin, while the oils help to nourish and hydrate.
Another benefit of beeswax salve is its anti-inflammatory properties. Beeswax contains a compound called propolis, which has been found to have powerful anti-inflammatory and antiviral properties. This makes beeswax salve an effective treatment for skin conditions like eczema, psoriasis, and acne.
Apart from its moisturizing and anti-inflammatory properties, beeswax salve has been found to have antimicrobial and antifungal properties as well. This makes it an ideal natural remedy for minor cuts, scrapes, and burns.
Benefits of Beeswax Salve
| Benefit | Description |
|---|---|
| Moisturizing | The beeswax in the salve acts as a natural emollient that softens and soothes the skin, while the oils help to nourish and hydrate. |
| Anti-inflammatory | The propolis in beeswax has powerful anti-inflammatory and antiviral properties that make it an effective treatment for skin conditions like eczema, psoriasis, and acne. |
| Antimicrobial | Beeswax salve has antimicrobial and antifungal properties, making it an ideal natural remedy for minor cuts, scrapes, and burns. |
Overall, beeswax salve is a useful and effective natural remedy for a variety of skin concerns. Its moisturizing, anti-inflammatory, and antimicrobial properties make it an ideal addition to any skincare routine.
Understanding Beeswax Salve Ingredients
Beeswax salve is a natural and effective way to moisturize and protect your skin. It is made up of a simple blend of ingredients that work together to provide hydration, nourishment, and relief from common skin concerns. In this section, we will explore the different ingredients used in making beeswax salve and highlight the importance of using natural ingredients for a healthier and more effective salve.
Beeswax
As the name suggests, beeswax is the main ingredient in beeswax salve. It is a natural wax produced by honeybees in their hives and has been used for centuries for its moisturizing and protective properties. Beeswax is rich in vitamin A, which helps to rejuvenate and nourish the skin, and has anti-inflammatory properties that soothe irritation and redness. It also acts as a natural barrier, preventing moisture loss and protecting the skin from environmental damage.
Carrier Oils
Carrier oils are used to dilute the beeswax and provide additional moisture to the skin. They are rich in vitamins and fatty acids that nourish and repair the skin, and their emollient properties help to soften and smooth the skin’s surface. Some popular carrier oils used in beeswax salve include:
| Oil | Properties |
|---|---|
| Coconut oil | Antimicrobial, anti-inflammatory, moisturizing |
| Jojoba oil | Non-greasy, easily absorbed, anti-inflammatory |
| Sweet almond oil | Rich in vitamin E, moisturizing, soothing |
| Olive oil | Anti-inflammatory, antioxidant, moisturizing |
It is important to choose high-quality carrier oils that are cold-pressed and unrefined, as they retain more of their natural nutrients and are less likely to irritate the skin.
Essential Oils
Essential oils are optional ingredients that can be added to beeswax salve for their fragrance and therapeutic properties. They are highly concentrated plant extracts that contain a range of beneficial compounds, such as anti-inflammatory, antimicrobial, and antiseptic agents. Some popular essential oils used in beeswax salve include:
- Lavender oil for its calming and soothing properties
- Tea tree oil for its antibacterial and antifungal properties
- Peppermint oil for its cooling and invigorating effects
- Eucalyptus oil for its respiratory and skin-clearing benefits
It is important to use essential oils in moderation and to choose high-quality oils that are pure and free from additives or synthetic fragrances. Some essential oils may also be irritating to sensitive skin, so it is best to perform a patch test before using them in your salve.
Gathering the Necessary Equipment
Before you start making your own beeswax salve, you need to gather all the necessary equipment. Here is a checklist of essential items:
| Equipment | Quantity |
|---|---|
| Glass measuring cup or bowl | 1 |
| Double-boiler or a heat-safe bowl and pot | 1 |
| Stirring utensil (spoon, whisk, or spatula) | 1 |
| Beeswax pellets or grated beeswax | 1 cup |
| Carrier oils (olive, coconut, almond, or jojoba oil) | 1 cup |
| Essential oils (optional) | A few drops |
| Clean glass jars or tins with lids | 2-3 |
You can find most of these items at your local craft store or online. Make sure to choose high-quality ingredients for the best results.
Note:
If you do not have a double-boiler, you can create one by placing a heat-safe bowl over a pot of boiling water. Make sure the bowl is not touching the water and stir the ingredients frequently.
With this equipment checklist, you are now ready to move on to the next step: melting the beeswax and oils.
5. Melting Beeswax and Oils
Now that you have gathered all your ingredients and equipment, it’s time to start melting the beeswax and oils. This step is crucial in creating the base of your beeswax salve.
To begin, take a double boiler or a heat-safe glass bowl and fill the bottom part with water. Place it on low heat, making sure that the water does not touch the top bowl. Add the beeswax pellets and coconut oil to the top bowl and stir occasionally until fully melted.
Note: For a vegan option, you can substitute beeswax with candelilla or soy wax.
Once the beeswax and coconut oil have melted, add in the other oils and stir until fully combined. Be careful not to overheat the mixture as it can affect the consistency of the final product.
Recommended Temperatures
| Ingredient | Melting Temperature |
|---|---|
| Beeswax | 144-147°F (62-64°C) |
| Coconut oil | 76°F (24°C) |
| Olive oil | 43-46°F (6-8°C) |
| Jojoba oil | 68-71°F (20-22°C) |
| Essential oils | Varies depending on the oil |
Once all the ingredients are melted and fully combined, turn off the heat and remove the top bowl from the double boiler. Use oven mitts or a towel to handle the bowl as it can be hot.
Next, you can add any optional ingredients, such as Vitamin E oil or Shea butter, for extra benefits to your beeswax salve. Mix it thoroughly and the base of your salve is now ready.
Adding Essential Oils and Additional Ingredients
Adding essential oils and other optional ingredients can enhance the benefits and fragrance of your beeswax salve. When incorporating these ingredients, it’s essential to consider their properties and the desired outcome.
Here are some tips for adding essential oils to your beeswax salve recipe:
- Choose high-quality essential oils that are pure and free from artificial fragrances or additives.
- Consider the potency of each oil and adjust the amount accordingly. Some oils, such as peppermint or tea tree, are potent and require only a few drops.
- Use essential oils that complement the properties of your salve. For example, lavender oil is known for its calming and soothing effects on the skin, making it an excellent addition to a salve for dry or irritated skin.
Here are some optional ingredients you can add to your beeswax salve:
| Ingredient | Properties |
|---|---|
| Shea butter | Moisturizing and reduces inflammation |
| Cocoa butter | Softens and soothes dry, itchy skin |
| Coconut oil | Antimicrobial and anti-inflammatory properties |
Remember to adjust your recipe accordingly when adding these ingredients.
When incorporating these additional ingredients, it’s important to note that they can affect the consistency and texture of your salve. Be mindful of the ratios and adjust them accordingly to achieve the desired consistency.
To add essential oils and additional ingredients to your melted beeswax and oils mixture, follow these steps:
- Add the essential oils and optional ingredients to the mixture.
- Stir the mixture gently until all ingredients are thoroughly combined.
- Remove the mixture from heat and allow it to cool slightly before pouring it into containers.
Blending and Pouring the Salve
After adding essential oils and any additional ingredients, it’s time to blend everything together to create the final mixture. It’s important to work quickly before the mixture starts to solidify.
You can use a blender or a hand mixer to blend the mixture until it becomes creamy. Alternatively, you can use a whisk or a fork to stir the mixture vigorously until it reaches a smooth consistency. Make sure to scrape the sides of the container to ensure everything is well blended.
Once the mixture is blended, it’s time to pour it into your chosen containers. Use a ladle or a small funnel to avoid any spills or mess. Be careful not to overfill the containers to allow room for the mixture to solidify.
Helpful Tip:
If you’re using glass containers, preheat them in the oven at 180°F for 10-15 minutes before pouring the mixture to prevent the glass from breaking due to the heat.
Allow the salve to cool and solidify completely before using it. This can take anywhere from 30 minutes to an hour or more, depending on the size of the containers and the temperature of your surroundings.
Once the salve is solid, it’s ready to use! You can apply it to your skin as needed for dryness, irritation, or other related concerns.

Tips for Making and Using Beeswax Salve
Now that you know how to make your own beeswax salve, here are some tips to help you get the most out of your DIY creation:
- Experiment with different essential oils to create unique fragrances and healing properties. Lavender and tea tree oil are great options for their soothing and antibacterial effects.
- Consider adding vitamin E oil to your recipe for additional nourishment and protection for your skin.
- Use high-quality, natural ingredients for your salve to ensure its effectiveness and minimize the risk of irritation.
- Store your beeswax salve in a cool, dry place to maintain its texture and quality.
- Apply the salve sparingly to avoid a greasy or sticky feeling on your skin.
- If you have sensitive skin, perform a patch test before using the salve on larger areas of your body.
- Be patient with the cooling process – rushing it can result in an uneven texture or separation of the ingredients.
By following these tips and taking the time to make your own natural beeswax salve, you can enjoy all the benefits and satisfaction of a homemade skincare product. Whether you’re in need of a healing balm or simply want to pamper your skin, DIY beeswax salve is a great choice for anyone looking to embrace natural ingredients and reduce waste.
Troubleshooting Common Issues
While making your own beeswax salve at home can be a fun and rewarding experience, there are some common issues that can arise during the process. Here are some troubleshooting tips to help you overcome these obstacles and make a successful batch of beeswax salve:
Problem: Salve is too hard or too soft
If your salve is too hard, you may have added too much beeswax. If it’s too soft, you may have added too much oil. To fix this, remelt the salve and add more oil or beeswax as needed until you reach the desired consistency.
Problem: Salve has a grainy texture
A grainy texture in your salve can be caused by undissolved beeswax or shea butter. To fix this, heat the salve gently and stir until all ingredients are fully melted and blended. You can also strain the salve through a cheesecloth to remove any lumps.
Problem: Salve has a strong, unpleasant scent
If your salve has a strong, unpleasant scent, it may be due to using old or rancid ingredients. Be sure to use fresh, high-quality ingredients to avoid this issue.
Problem: Salve separates or curdles
If your salve separates or curdles, it may be because you didn’t blend the ingredients well enough or didn’t use enough beeswax to emulsify the oils. To fix this, gently heat the salve and stir until it emulsifies.
By following these troubleshooting tips, you can overcome common issues and create a successful batch of beeswax salve. Remember, making your own beauty products takes practice and patience, but the end result is well worth the effort.
Conclusion
Now that you have learned how to make beeswax salve at home, you can enjoy the many benefits of a natural and effective skincare product. By following the step-by-step guide and considering the tips and recommendations provided, you can create a personalized salve to address your specific skin concerns.
Remember to use natural ingredients and gather the necessary equipment before starting the process. Be mindful of the melting temperatures and ensure a proper blend of oils and essential oils for the desired fragrance and effectiveness. Once poured and cooled, store your salve properly to maintain its quality and benefits.
With beeswax salve, you can enjoy a gentle and nourishing addition to your skincare routine, suitable for various skin types and needs. Experiment with different ingredients and formulations to discover your ideal blend. Share your progressive experience with us and continue to grow your knowledge of how to make beeswax salve.
FAQ
How long does beeswax salve last?
Beeswax salve typically has a shelf life of 1-2 years if stored properly in a cool, dry place. However, it is always recommended to check for any signs of spoilage before use.
Can I use beeswax salve on sensitive skin?
Yes, beeswax salve is generally safe to use on sensitive skin. However, it’s always a good idea to perform a patch test first to ensure you don’t have any adverse reactions.
Can beeswax salve be used on infants or children?
It is best to consult with a pediatrician before using beeswax salve on infants or children. They can provide guidance on whether it is appropriate for their specific needs.
Can beeswax salve be used on pets?
While beeswax salve is safe for human use, it is not recommended for use on pets. Animals have different sensitivities and may have adverse reactions to the ingredients. Consult with a veterinarian for pet-specific skincare options.
Is beeswax salve vegan?
Beeswax salve is not considered vegan, as it contains beeswax, which is derived from bees. However, there are vegan alternatives available, such as plant-based waxes, for those who prefer a vegan option.
Can beeswax salve be used for other purposes besides skincare?
Yes, beeswax salve has various other uses besides skincare. It can be used as a lip balm, cuticle cream, hand moisturizer, or even as a protective barrier for tools and equipment.
How often should I apply beeswax salve?
The frequency of application will depend on your individual needs and preferences. It is generally recommended to apply beeswax salve once or twice a day, or as needed, to keep the skin moisturized and protected.
Can beeswax salve help with eczema or psoriasis?
Beeswax salve may provide relief for symptoms associated with eczema or psoriasis, such as dryness and itching. However, it is important to consult with a dermatologist for personalized advice and treatment options.
Can I customize the scent of my beeswax salve?
Yes, you can customize the scent of your beeswax salve by adding essential oils of your choice. However, it is important to ensure the essential oils are safe for topical use and well-tolerated by your skin.
Can I sell beeswax salve that I make at home?
Before selling any homemade products, it is important to research and comply with local regulations and laws regarding product labeling, packaging, and safety. It may also be necessary to obtain necessary permits or licenses.


