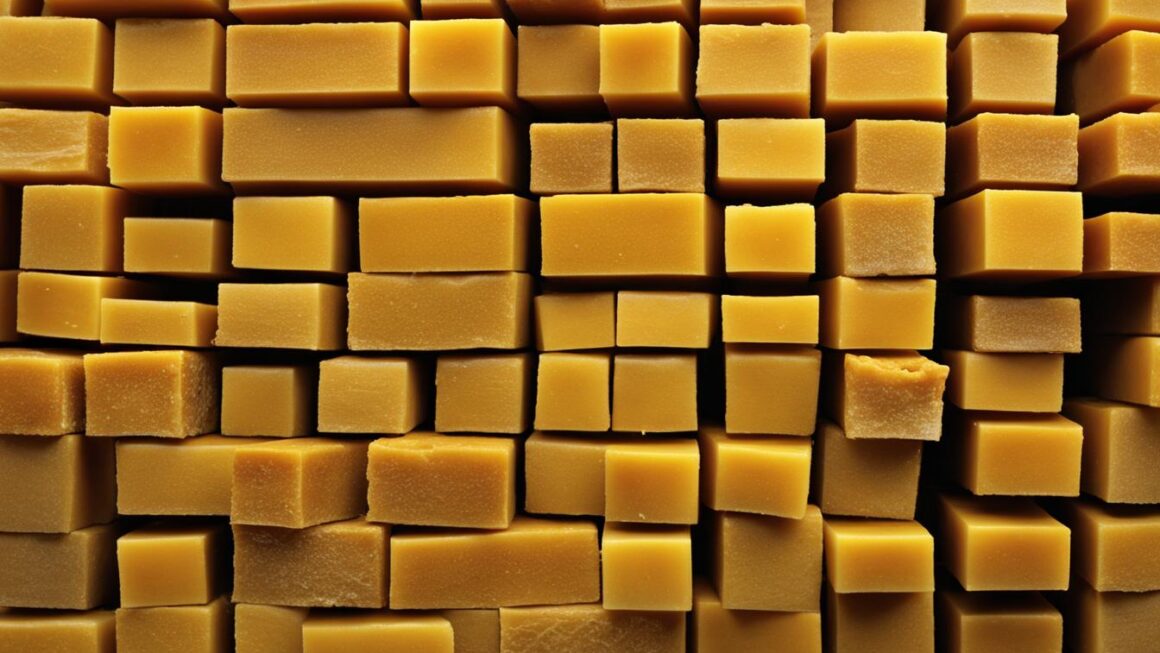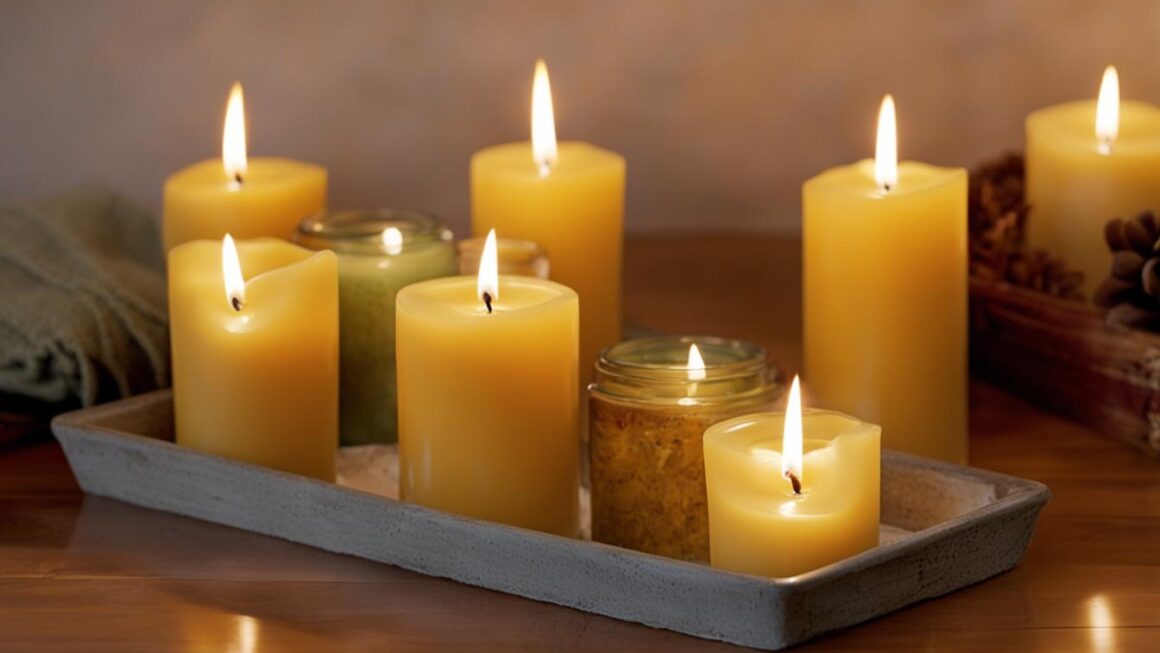
Beeswax candles are a popular choice for their natural beauty and eco-friendly qualities. However, they can sometimes drip, causing a messy and frustrating experience. Understanding the factors that contribute to candle drips and taking preventive measures can help you enjoy a cleaner burn and prolong the life of your candles.
Key Takeaways:
- Beeswax candles can drip due to factors like drafts and wick length.
- To prevent drips, use candles that are resistant to drafts, such as Pillars, Votives, and Tealights.
- Trim the wick to about ½ an inch to maintain a steady flame and minimize drips.
- If a candle drips, extinguish it, create a small dam using the spilled wax, and eliminate drafts before relighting.
- Follow general candle safety practices and avoid adding foreign substances to the melted wax pool.
The Impact of Drafts on Beeswax Candle Dripping
When it comes to preventing beeswax candle drips, understanding the impact of drafts is crucial. Drafts and air movement can significantly contribute to candle dripping, causing frustration and messiness. There are several sources of drafts to be aware of, including baseboard heaters, ceiling fans, open doors or windows, and even people moving around a space. To minimize the effects of drafts on candle dripping, it is recommended to use candles that are more resistant to air movement.
Pillars, Votives, and Tealights are types of candles that are less likely to drip due to drafts. These candles are designed to withstand air movement and provide a cleaner burn experience. By opting for these types of candles, you can enjoy the ambiance of candlelight without worrying about messy drips. It’s important to note that while these candles are more resistant to drafts, it’s still advisable to keep them away from direct airflow for optimal performance.
“Using candles that are resistant to drafts, such as Pillars, Votives, and Tealights, can help prevent messy candle drips and create a more enjoyable candle burning experience.”
| Types of Candles | Resistance to Drafts |
|---|---|
| Pillars | High |
| Votives | Moderate |
| Tealights | Low |
Choosing candles that are specifically designed to minimize the impact of drafts can go a long way in preventing frustrating drips. By selecting the right type of candle for your environment, you can enjoy the warm glow of candlelight without worrying about messy wax drips.
The Role of Wick Length in Beeswax Candle Dripping
When it comes to beeswax candle dripping, the length of the wick plays a crucial role. A wick that is too long can lead to flickering flames and excessive melting. On the other hand, a wick that is too short may cause the melted wax to accumulate and drip. To prevent unwanted drips, it is essential to trim the wick to the ideal length of about ½ an inch for candlesticks.
By maintaining the correct wick length, you can ensure a steady flame that burns the wax efficiently, minimizing the chances of dripping. Additionally, a properly trimmed wick helps create a balanced wax pool, allowing for a clean and even burn. So, before lighting your beeswax candle, take a moment to trim the wick to the recommended length. This simple step can make a significant difference in drip prevention.
Proper wick trimming is particularly important for taper candles. The long, slender shape of tapers means they are more prone to dripping if the wick is too long. Trimming the wick to 1/4″ before each use helps maintain a steady flame and prevents excessive melting. Remember to use sharp scissors or a wick trimmer to ensure a clean cut without fraying the wick.
Correcting Dripping Candles
Even with the best beeswax candles, there may be times when dripping occurs. However, there are steps you can take to correct it and enjoy a drip-free burning experience. When addressing candle drips caused by drafts or incorrect wick length, extinguishing the candle and creating a small dam using the spilled wax can help block the channel where the wax is dripping. This simple technique can minimize further dripping and maintain a cleaner burn.
To address dripping caused by drafts, it is important to eliminate any sources of air movement in the vicinity. Close windows and doors, turn off fans, and ensure there are no drafts from heating or cooling systems. Once the environment is draft-free, carefully relight the candle and observe if the dripping persists. Taking these precautions can significantly reduce the impact of drafts on candle dripping.
Additionally, if the dripping is due to a wick that is too short, pouring some of the melted wax off the top can help increase the wick length and encourage a more complete combustion. This can be done by carefully tipping the candle and pouring the excess wax into a heat-resistant container. However, it is important to use caution and ensure the candle is not excessively tilted, as it could result in an uneven burn.
By following these corrective measures, you can effectively address candle drips and continue to enjoy the benefits of your best beeswax candles. Remember to always exercise caution and prioritize safety when handling lit candles. Now let’s take a look at some general safety and burning tips for beeswax candles to ensure an enjoyable and worry-free experience.
General Safety and Burning Tips for Beeswax Candles
Burning beeswax candles not only creates a warm and soothing ambiance, but it also requires proper safety precautions to prevent accidents. By following these general safety and burning tips, you can enjoy the beauty of beeswax candles while ensuring a safe and drip-free experience.
First and foremost, it is essential to never leave a burning candle unattended. Always extinguish the candle before leaving the room or going to bed. This simple precaution can prevent potential fire hazards and ensure the safety of your home and loved ones.
Additionally, it is crucial to keep candles out of the reach of children and pets. Beeswax candles tend to have a lower melting point than other candle types, which can lead to quick and unexpected accidents. Placing candles on stable surfaces, away from flammable materials, can further reduce the risk of accidents.
When burning beeswax candles, it is important to use proper candle holders that are designed to accommodate the specific type of candle. This ensures that the candle remains stable and reduces the chances of tipping or dripping. Using candle holders that have a deep enough well to catch any melted wax can also prevent spills and drips that may damage surfaces or cause injury.
“Safety is paramount when it comes to burning candles. Taking simple precautions such as never leaving a candle unattended and keeping it away from children and pets can prevent accidents and ensure a worry-free burning experience.” – Candle Safety Expert
Burning Environment and Wax Pools
In order to prevent dripping, it is important to burn your beeswax candles in a draft-free environment. Drafts can cause the flame to flicker, leading to uneven burning and increased dripping. Close doors and windows, and avoid placing candles near fans or air conditioning vents.
Creating a suitable wax pool is also crucial in preventing candle drips. When burning beeswax candles, it is recommended to allow the wax pool to reach the edge of the container or holder. This helps maintain a consistent and even burn, reducing the likelihood of drips. Avoid extinguishing the candle before the wax pool has fully melted, as this can lead to tunneling and subsequent dripping.
Familiarize yourself with the specific burning recommendations for the type of beeswax candle you are using. Different types, such as pillars, votives, tealights, and tapers, may require different burn times and procedures to ensure a clean and drip-free experience.
Additional Tips
Lastly, avoid adding any foreign substances to the melted wax pool. This can alter the burning properties of the candle and potentially lead to increased dripping. Stick to burning the candle as it is intended, and avoid experiments that may compromise the integrity of the candle.
By following these general safety and burning tips, you can enhance your beeswax candle experience. Remember to prioritize safety, create an optimal burning environment, and utilize suitable candle holders. With proper precautions in place, you can enjoy the warmth, beauty, and fragrance of beeswax candles without the worry of messy and unwanted drips.
Pillar Burning Tips for Beeswax Candles
When it comes to burning pillar candles made from beeswax, there are a few key tips to keep in mind for a dripless and enjoyable experience. Using a pillar plate or holder is essential to prevent any spilled wax from creating a mess. The plate or holder will contain any drips, ensuring a clean burn. Additionally, burning pillars for extended periods of time is recommended to minimize drips. As a general guideline, it is recommended to burn pillars for approximately 1 to 1.5 hours per inch in diameter.
Hugging the candle, or gently pressing the edges towards the center, is another technique that can help prevent dripping. This helps ensure an even burn and encourages the melted wax to pool in the center rather than running down the sides. By keeping the candle hugged, you can maintain the shape and prevent any chances of dripping.
It’s important to note that pillar candles should not be used in hurricane containers. The higher temperature of beeswax can cause dripping and collapse of the walls in these containers. By following these tips and guidelines, you can enjoy a dripless experience with your beeswax pillar candles.
Table: Comparison of Different Candle Types for Drip Prevention
| Candle Type | Drip Prevention |
|---|---|
| Pillars | Using a pillar plate or holder |
| Votives | Burning in properly sized votive holders |
| Tea Lights | Burning in cups and on a level, heat resistant surface |
| Tapers | Using proper taper holders and burning for extended periods |
By understanding the specific burning tips for each type of beeswax candle, you can ensure a dripless and enjoyable experience. Whether you’re burning pillars, votives, tea lights, or tapers, following the recommended guidelines will help prevent any messy drips. Choose high-quality beeswax candles for the best results in drip prevention, and create a warm and cozy atmosphere without the worry of wax drips.
Votive Burning Tips for Beeswax Candles
When it comes to burning votive candles, there are a few tips to keep in mind to prevent dripping and ensure a clean burn. By following these guidelines, you can enjoy the warm glow and ambiance of votive candles without the mess.
Proper Votive Holders
Choosing the right votive holder is essential for preventing drips. Make sure the holder is properly sized to contain the melted wax. This will help minimize the chances of wax dripping onto surfaces. Opt for holders made specifically for votive candles to ensure a snug fit and optimal performance.
Long Burn Times
To reduce the potential for dripping, it’s recommended to burn votive candles for at least one hour per session. This longer burn time allows the wax to melt out to the sides of the votive holder, instead of pooling in the center. The melted wax will create a protective barrier that prevents drips during subsequent burn sessions.
Trimming the Wick
Before lighting a votive candle, always trim the wick to about 1/4″. This helps create a steady flame and minimizes the risk of excessive melting and dripping. Keep a pair of wick trimmers handy to ensure a clean and precise trim. Avoid using scissors or other sharp objects, as they may cause the wick to fray and result in an uneven burn.

| Benefits of Proper Votive Burning | Consequences of Improper Votive Burning |
|---|---|
|
|
Tea Light Burning Tips for Beeswax Candles
Tea light candles are a popular choice for their small size and warm, flickering glow. To ensure a drip-free experience with your beeswax tea lights, there are a few tips to keep in mind. First and foremost, always burn tea lights in their cups and place them on a level, heat-resistant surface. This will help contain the melted wax and prevent any potential spills or dripping.
It is recommended to burn tea lights for at least one hour per session. This allows the wax to melt out to the sides of the cup, reducing the chances of dripping. Keeping the wick trimmed to 1/4″ before each use can also help promote a steady and clean burn. When it comes time to extinguish the candle, simply push the wick gently into the pool of melted wax. This helps prevent any smoldering and ensures that the candle is fully extinguished.
Overall, following these tea light burning tips can help you enjoy a non-drip experience with your beeswax candles. The combination of using cups, allowing for sufficient burning time, and proper wick maintenance will contribute to a clean and beautiful burn. Whether you’re using tea lights for ambient lighting or adding a cozy touch to your home decor, these tips will help you make the most of your beeswax tea light candles.
Advantages of Beeswax Tea Lights
- Longer burn time compared to other candle types
- Non-toxic and natural, making them a healthier choice
- Produced from renewable resources
- Emit a warm and natural light
- Clarity and purity of beeswax add a touch of elegance to any setting
“Beeswax tea lights create a cozy atmosphere with their soft, flickering glow. By following these burning tips, you can enjoy a drip-free and enchanting experience with your tea light candles.” – Beeswax Candle Experts
Taper Burning Tips for Beeswax Candles
When it comes to burning taper candles, it’s important to take extra precautions to prevent dripping. Here are some tips to help you enjoy a no-drip experience with your beeswax taper candles:
- Choose the right taper holders: Using proper taper holders that are straight and stable is crucial for preventing dripping. Make sure the holders are secure and can support the weight of the candles.
- Optimize burn time: Burning tapers for extended periods of time, ideally 2-3 hours per session, allows the wax to create a deep pool that helps reduce dripping. This extended burn time ensures a consistent and steady flame.
- Avoid drafts: Keep your taper candles away from any drafts, as air movement can cause the flame to flicker and lead to dripping. Place them in a draft-free area to ensure a cleaner burn.
- Trim the wick: Before each use, trim the wick of your taper candles to approximately 1/4 inch. This helps maintain a steady flame and reduces the chance of excessive dripping.
By following these taper burning tips, you can enjoy the beauty of beeswax candles without the frustration of drips. Remember to always prioritize safety and burn your candles in a controlled environment.

Conclusion
Beeswax candles are the best choice for those seeking a clean and eco-friendly burning experience. By implementing the tips and guidelines mentioned in this article, you can effectively prevent drip formation and enjoy a hassle-free burn.
To ensure drip prevention, it is crucial to consider factors such as drafts, wick length, and proper candle holders. Opt for high-quality beeswax candles, which are known for their superior drip prevention properties.
Remember, a draft-free environment and proper wick trimming are essential to maintain a steady flame and minimize drips. Whether you choose pillar, votive, tea light, or taper candles, following these recommendations will result in a clean, enjoyable burn.
FAQ
Why do beeswax candles drip?
Beeswax candles can drip due to factors such as drafts and the length of the wick.
How can I prevent beeswax candle dripping?
To prevent dripping, use candles that are more resistant to drafts, such as Pillars, Votives, and Tealights. Trim the wick to the ideal length of about ½ an inch. Burn candles in a draft-free environment and avoid adding foreign substances to the melted wax pool. Proper candle holders can also help contain any spilled wax.
What should I do if my beeswax candle starts dripping?
If the dripping is caused by drafts or incorrect wick length, you can extinguish the candle and create a small dam using the spilled wax to block the channel where the wax is dripping. Eliminate drafts and carefully relight the candle. If the dripping is due to a wick that is too short, pouring some of the melted wax off the top can help increase the wick length.
What are some general safety practices for burning beeswax candles?
Never leave a burning candle unattended. Keep candles away from children and pets. Use proper candle holders and burn candles in a draft-free environment. Avoid adding foreign substances to the melted wax pool.
How should I burn pillar candles to prevent dripping?
Use a pillar plate or holder to contain any spilled wax. Burn pillars for extended periods of time, approximately 1 to 1.5 hours per inch in diameter. Hugging the candle, or gently pressing the edges towards the center, can help ensure even burning. Avoid using pillar candles in hurricane containers.
What are some tips for burning votive candles without dripping?
Burn votive candles in properly sized votive holders. Burn them for at least 1 hour per session to allow the wax to melt out to the side of the holder. Trim the wick to 1/4″ and properly extinguish the candle by pushing the wick into the wax pool.
How can I prevent tea light candles from dripping?
Burn tea light candles in their cups on a level and heat-resistant surface. Burn them for at least 1 hour per session to allow the wax to melt out to the sides of the cup. Trim the wick to 1/4″ and properly extinguish the candle by pushing the wick into the wax pool.
What should I do to prevent taper candles from dripping?
Use proper taper holders that are straight and stable. Burn tapers for extended periods of time, at least 2-3 hours per session, to create a deep wax pool that prevents dripping. Keep taper candles away from drafts and trim the wick to 1/4″ before each use.