Welcome to our step-by-step guide on how to make beeswax scented candles at home. In this article, we will walk you through the entire process, from selecting the right supplies to adding fragrance and creating your own unique aromatic masterpieces. Whether you’re a seasoned candle maker or a beginner, you’ll find all the details you need to create beautiful homemade beeswax candles.
Key Takeaways:
- Learn how to make your own beeswax scented candles
- Discover the benefits of using beeswax candles
- Gather the necessary supplies for candle making
- Follow our step-by-step process to create perfect scented candles
- Choose the right fragrance for your beeswax candles
Why Beeswax Candles?
Beeswax candles have gained popularity in recent years due to their numerous benefits. Unlike paraffin candles, which are made from petroleum, beeswax candles are all-natural and do not release harmful toxins when burned. This makes them a healthier alternative for both you and the environment.
One of the unique properties of beeswax candles is that they emit negative ions when burned. These negative ions help to purify the air by neutralizing pollutants and allergens, such as dust, pollen, and mold spores. This can improve the air quality in your home, making it beneficial for those with allergies or respiratory conditions.
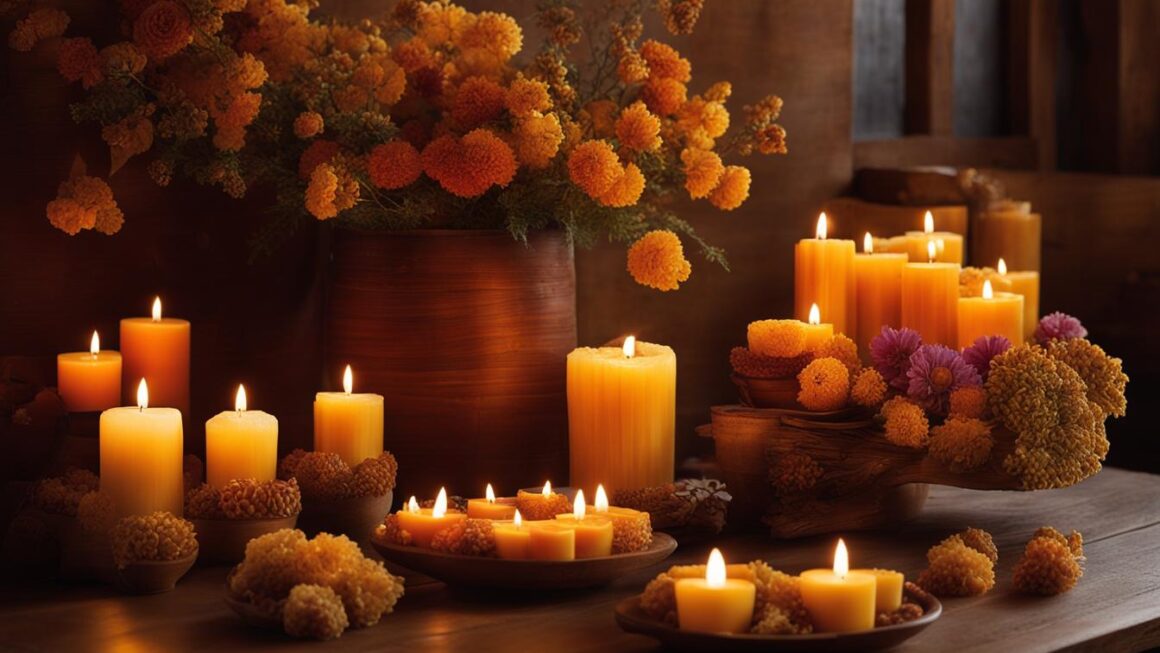
In addition to their air-purifying properties, beeswax candles also provide a warm and inviting ambiance with their natural golden glow. The soft, flickering light creates a cozy atmosphere, perfect for relaxation and unwinding after a long day.
Supplies You’ll Need
Before you begin making your beeswax scented candles, it’s important to gather all the necessary supplies. Here’s a detailed list of everything you’ll need to ensure a successful candle-making experience:
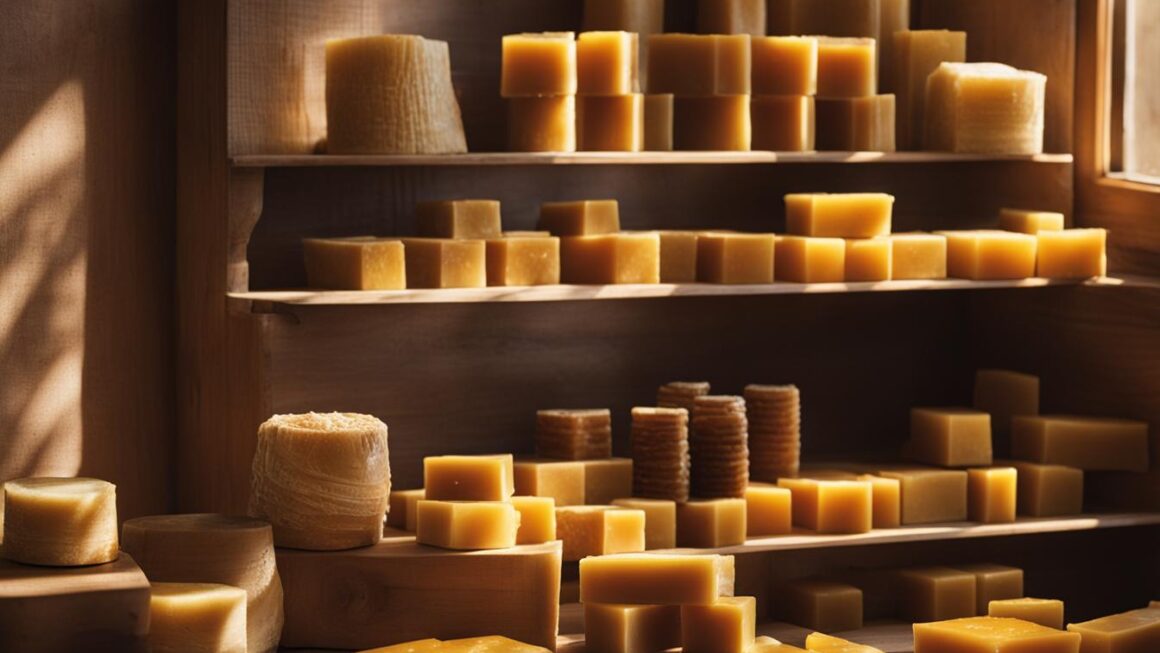
- Beeswax: The main ingredient that will give your candles a beautiful golden hue.
- Wicks: These will be used to create the flames that will light up your candles.
- Containers: Choose containers that are heat-resistant and suitable for holding melted wax.
- Double boiler or melting pitcher: This will be used to melt the beeswax without direct heat.
- Thermometer: An essential tool for monitoring the temperature of the melted wax.
- Fragrance oils or essential oils: These will provide the scents for your candles.
Having these supplies ready will ensure a smooth and enjoyable candle-making process. You can find most of these items at craft stores or online retailers specializing in candle-making supplies. Remember to choose high-quality materials for the best results.
Additional Supplies:
In addition to the basic supplies mentioned above, you may also need the following:
- Colorants: If you wish to add colors to your candles, you can use dyes specifically made for candle-making.
- Molds: If you prefer to create shaped candles, you’ll need molds designed for beeswax candles.
- Labels and packaging: To give your candles a professional touch, consider designing custom labels and packaging.
These additional supplies are optional but can enhance the overall look and presentation of your finished candles. Get creative and make your candles truly unique!
Step-by-Step Candle Making Process
Now that you have gathered all the necessary supplies, it’s time to dive into the step-by-step process of making beeswax scented candles. Follow these instructions carefully to create beautifully scented candles that will fill your home with delightful aromas.
Step 1: Melting the Beeswax
The first step in the candle-making process is melting the beeswax. Using a double boiler or melting pitcher, gently heat the beeswax until it is completely melted. Be sure to monitor the temperature to prevent the wax from overheating.
Step 2: Adding Fragrance
Once the beeswax has melted, it’s time to add fragrance to your candles. Whether you prefer floral scents, fruity aromas, or cozy vanilla, carefully pour the desired amount of fragrance oil or essential oil into the melted wax. Stir well to ensure that the fragrance is evenly distributed.
Step 3: Pouring the Candles
With the fragrance mixed in, it’s time to pour the melted beeswax into your chosen containers. Place the pre-waxed wicks in the center of each container, making sure they are secure. Slowly pour the melted wax into the containers, being careful not to disturb the wicks. Allow the candles to cool and solidify completely before moving on to the next step.
Step 4: Finishing Touches
Once the candles have cooled and solidified, it’s time for the finishing touches. Trim the wicks to about ¼ inch and ensure they are centered in the candles. You can also add decorative touches such as ribbons or labels to personalize your candles.
And there you have it – your handmade beeswax scented candles are ready to be enjoyed! Take pride in your creations and bask in the warm glow and delightful scents that these candles will bring to your home.
Choosing the Right Fragrance
When it comes to creating the perfect scented candles, choosing the right fragrance is key. The scent of your candle can set the mood and create a delightful atmosphere in your home. Whether you prefer floral, fruity, or woody scents, there are endless options to explore. Let’s take a closer look at how to select the ideal fragrance for your beeswax candles.
Understanding Fragrance Notes
Before diving into the world of candle fragrances, it’s important to understand the concept of fragrance notes. Fragrances are typically categorized into three main notes: top, middle, and base. The top note is the initial scent that you smell when you first light the candle. It’s often fresh and vibrant, and it evaporates quickly. The middle note, also known as the heart note, emerges after the top note dissipates and provides depth and complexity to the fragrance. Finally, the base note is the lingering scent that remains after the candle has burned for a while. It provides the foundation of the fragrance and has a longer-lasting effect.
By understanding these three notes, you can create a well-balanced scent throw in your beeswax candles. Consider layering different fragrances that work harmoniously together to create a multi-dimensional aroma and enhance the overall experience.
Exploring Fragrance Options
When selecting fragrance options for your beeswax candles, you can choose from a wide range of options. Floral scents such as lavender, rose, or jasmine can create a calming and romantic ambiance. Fruity scents like citrus, apple, or berries can add a refreshing and invigorating touch to your space. For a cozy and warm atmosphere, opt for woody scents such as sandalwood, cedarwood, or patchouli. You can also explore seasonal scents like pumpkin spice or peppermint during the holidays.
If you’re feeling adventurous, consider creating your own unique fragrance blends. Mixing different fragrances together can result in a personalized scent that is truly one-of-a-kind. Experiment with various combinations and ratios to find the perfect blend that matches your preferences.

Tips for Selecting the Right Fragrance
Here are some additional tips to help you select the right fragrance for your beeswax candles:
- Consider the purpose of the candle. Are you looking to create a relaxing atmosphere in your living room or a romantic ambiance in your bedroom?
- Take into account the season. Some scents are more suited for certain seasons. For example, you may want to opt for light and fresh scents during the summer and warm and cozy scents during the winter.
- Think about the preferences of your household members or potential recipients if you plan on gifting the candles. Choose a fragrance that will be enjoyed by everyone.
- Don’t be afraid to step out of your comfort zone and try new scents. You might discover a new favorite fragrance that you wouldn’t have considered before.
With these tips in mind, you’ll be able to select the perfect fragrance for your beeswax candles. Let your creativity and personal taste guide you as you create beautifully scented candles that will fill your home with delightful aromas.
Safety Considerations
Making beeswax scented candles is a delightful and rewarding activity, but it’s essential to prioritize safety throughout the process. By following these candle-making safety tips, you can ensure a safe and enjoyable experience:
- Always work in a well-ventilated area to prevent the buildup of fumes. Beeswax can release odors when heated, so proper ventilation is crucial.
- Use a double boiler or a melting pitcher specifically designed for candle making to melt the beeswax. Avoid using direct heat sources such as a stovetop or microwave, as they can cause the wax to overheat and potentially catch fire.
- Handle hot wax with caution. Beeswax can reach high temperatures when melted, so always use heat-resistant gloves or mitts to protect your hands.
- Ensure that your work surface is clean and free from any flammable materials. Keep a fire extinguisher nearby as a precaution.
- When pouring the melted wax into containers, make sure they are heat-resistant and stable. Avoid using glass containers that may crack or shatter due to extreme temperature changes.
- Trim the wick to the recommended length before lighting the candle. A long wick can cause the flame to become too high, increasing the risk of a fire hazard.
- Never leave a burning candle unattended. Always extinguish the flame before leaving the room or going to sleep.
- Store your finished candles in a cool, dry place away from direct sunlight and heat sources. Avoid placing them near flammable objects.
By following these safety considerations, you can enjoy the process of making your own beeswax scented candles while ensuring the well-being of yourself and your surroundings.

Remember, safety should always be the top priority when engaging in any candle-making activity. Take the necessary precautions and enjoy the soothing ambiance and delightful scents of your homemade beeswax candles with peace of mind.
Tips for Customizing Your Candles
When it comes to beeswax scented candles, customization is the name of the game. Personalizing your candles allows you to add a unique touch and make them truly one-of-a-kind. Here are some tips and ideas to help you customize your candles and create personalized scented masterpieces.
Adding Color
One way to customize your beeswax candles is by adding color. You can use natural dyes or color blocks specifically made for candle-making. Experiment with different hues to match your home decor or create a specific ambiance. Whether you prefer pastel shades or vibrant tones, adding color will enhance the visual appeal of your candles.
Exploring Container Options
Another way to customize your candles is by experimenting with different container shapes and sizes. From classic glass jars to vintage teacups or unique vases, the options are endless. Consider the style and theme you want to achieve when choosing your containers. Not only will they hold your candles, but they will also serve as decorative pieces in your home.
Creating Unique Labels or Packaging
Make your candles even more special by designing unique labels or packaging. You can create personalized labels with your own artwork, logo, or even a special message. This adds a personal touch and makes your candles perfect for gifting. Additionally, you can get creative with packaging ideas such as gift boxes, ribbons, or custom candle wraps to elevate the overall presentation.
With these tips, you can take your candle-making skills to the next level and create personalized scented candles that reflect your style and taste. Get creative, explore different customization options, and have fun crafting your own unique candles.
Caring for Your Beeswax Candles
As you enjoy the delightful scents and warm glow of your beeswax scented candles, it’s important to take proper care of them to ensure they burn beautifully and last longer. Here are some essential candle care tips and maintenance practices to follow:
- Trim the Wick: Before each use, trim the wick to about ¼ inch to prevent excessive smoke and ensure a clean, even burn. This helps to avoid black soot and extends the life of your candle.
- Burn Evenly: Allow your beeswax candle to burn long enough so that the entire surface melts evenly. This helps prevent tunneling, where wax accumulates around the edges and the center remains unburned.
- Avoid Drafts: Place your candle away from drafts, as they can cause uneven burning and affect the scent throw. This ensures a consistent burn and maximizes the fragrance release.
- Store Properly: When not in use, store your beeswax candles in a cool and dry place, away from direct sunlight. This helps maintain their quality and prevents the wax from becoming discolored or melting prematurely.
- Use Candle Snuffers: Extinguish your candle using a candle snuffer instead of blowing it out. Blowing can cause hot wax to splatter and potentially create a fire hazard.
- Be Patient: Allow your candle to cool and solidify before relighting it. Trying to light a wax pool that is still warm can lead to uneven burning and potentially cause the wick to drown.
By following these simple candle care tips, you can maximize the enjoyment and lifespan of your beeswax scented candles. Remember, a well-maintained candle not only fills your home with delightful aromas but also ensures a safe and satisfying candle experience.
| Beeswax Candle Maintenance Tips | |
|---|---|
| Trim the wick regularly to ¼ inch before lighting. | Prevents excess smoke and ensures a clean burn. |
| Allow the entire surface to melt evenly during each burn. | Prevents tunneling and maximizes burn time. |
| Store in a cool and dry place away from sunlight. | Preserves the quality and color of the wax. |
| Avoid placing candles near drafts or air vents. | Ensures even burning and optimal fragrance release. |
| Use a candle snuffer to extinguish the flame. | Prevents hot wax from splattering and causing accidents. |
Conclusion
Now that you have learned the art of beeswax scented candle making, you can embark on a journey of creating your own unique aromatic masterpieces. This step-by-step guide has equipped you with the knowledge and skills to make homemade candles that will fill your home with delightful scents.
Whether you are a beginner or an experienced candle maker, these tutorials have provided valuable insights and tips to enhance your candle-making experience. With the right supplies, careful consideration of fragrance selection, and proper safety measures, you can create personalized scented candles that reflect your style and preferences.
Enjoy the process of customizing your candles by experimenting with different container shapes, sizes, and colors. Take pride in caring for your beeswax candles to ensure they burn beautifully and last longer. With these homemade candle tutorials, you can infuse your space with the warm glow and inviting aromas of beeswax.
FAQ
What supplies do I need to make beeswax scented candles?
You will need beeswax, wicks, containers, a double boiler or melting pitcher, a thermometer, and fragrance oils or essential oils.
Why should I choose beeswax candles?
Beeswax candles are a great choice because they do not release harmful toxins when burned and emit negative ions that clean the air and promote relaxation.
How do I make scented candles with beeswax?
We will guide you through the step-by-step process of melting the beeswax, adding fragrance, and pouring the candles into containers.
How do I choose the right fragrance for my candles?
We will explore different fragrance options and provide tips on creating your own unique blends to achieve the perfect scent throw.
What safety considerations should I keep in mind?
Safety is important when making candles, so we will provide tips on handling hot wax and using the right equipment to ensure a safe experience.
How can I personalize my beeswax candles?
We will share tips on adding color, experimenting with different container shapes and sizes, and creating unique labels or packaging for personalized candles.
How do I care for my beeswax candles?
We will provide tips on trimming the wick, burning the candles evenly, and storing them properly to maximize their life and enjoyment.