Making your own homemade beeswax lip balm is not only a natural alternative to store-bought products but also a nourishing and effective lip care solution. With just a few simple ingredients, you can create a moisturizing lip balm that will keep your lips soft and protected.
Key Takeaways:
- Homemade beeswax lip balm is a natural and nourishing option for lip care.
- It is easy to make with simple ingredients.
- Beeswax acts as a protective barrier, locking in moisture.
- Using natural lip balm is an eco-friendly choice.
- Enjoy the benefits of moisturization and protection with homemade lip balm.
The Key Ingredients for Homemade Beeswax Lip Balm
When it comes to making your own homemade beeswax lip balm, having the right ingredients is crucial. These key ingredients work together to create a nourishing and moisturizing lip care solution. Let’s take a closer look at each ingredient:
Coconut Oil
Coconut oil is a popular ingredient in homemade lip balms due to its moisturizing properties. It helps to hydrate and soften the lips, preventing dryness and chapping. Additionally, coconut oil has natural antibacterial properties, making it beneficial for lip care.
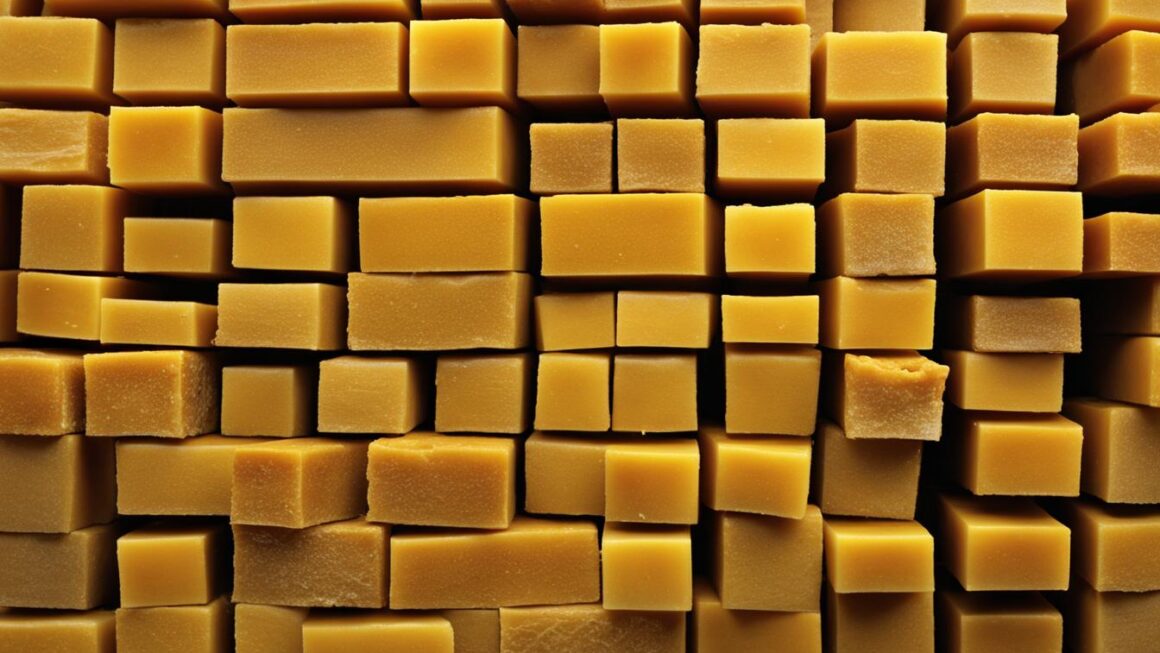
Beeswax Pellets
Beeswax acts as a natural barrier, sealing in moisture and protecting the lips from harsh environmental elements. It provides a soothing and long-lasting effect, ensuring that your lips stay hydrated throughout the day. Beeswax pellets are easy to measure and melt, making them convenient for DIY lip balm recipes.
Shea Butter
Shea butter is another key ingredient that adds extra nourishment to the lips. It is rich in vitamins and fatty acids, which help to moisturize and repair dry, cracked lips. Shea butter also promotes elasticity and smoothness, leaving your lips feeling soft and supple.
Peppermint Essential Oil
Peppermint essential oil not only adds a refreshing scent to your homemade lip balm but also offers additional benefits. It has a cooling effect on the lips, soothing any discomfort or irritation. Peppermint oil also has antimicrobial properties, keeping your lips clean and healthy.
Lip Balm Containers
To store your homemade lip balm, you will need suitable containers. Lip balm containers come in various shapes and sizes, allowing you to customize your lip balm packaging. It’s important to choose containers that are airtight and easy to use, ensuring the longevity and convenience of your homemade lip balm.
With these key ingredients and the right ratio, you can create a natural and nourishing lip balm that will keep your lips moisturized and protected. Experiment with different variations to find the perfect formula that works for you.
The Step-by-Step Process to Make Homemade Beeswax Lip Balm
Creating your own homemade beeswax lip balm is a simple and rewarding process. With just a few easy steps, you can make a nourishing lip balm that will keep your lips moisturized and protected. Here is a step-by-step guide:
Melting Beeswax
Start by melting the beeswax pellets in a microwave-safe glass measuring cup. Use short intervals of 20-30 seconds to prevent overheating. Stir the beeswax after each interval until it is completely melted and smooth.
Adding Coconut Oil and Shea Butter
Once the beeswax is melted, add in the desired amount of coconut oil and shea butter. These ingredients provide moisturizing properties and help create a smooth texture. Microwave the mixture for a little longer until the coconut oil and shea butter are fully melted and well combined with the beeswax.
Incorporating Peppermint Essential Oil
To add a refreshing scent to your homemade lip balm, incorporate a few drops of peppermint essential oil. Stir well to ensure the oil is evenly distributed throughout the mixture. You can adjust the amount of essential oil based on your preference for scent intensity.
Pouring into Containers and Cooling
Once the mixture is ready, carefully pour it into lip balm containers. Use a small funnel or a steady hand to prevent spills. Allow the lip balm to cool and harden completely before use. This typically takes a few hours.

Summary
Making homemade beeswax lip balm involves melting the beeswax pellets, adding coconut oil and shea butter, incorporating peppermint essential oil, and pouring the mixture into containers to cool and harden. It is a simple process that allows you to create a nourishing lip balm customized to your preferences.
Choosing the Right Essential Oils for Lip Balm
When it comes to making your own homemade lip balm, choosing the right essential oils is crucial. Not only do essential oils add fragrance to your lip balm, but they also provide various benefits for your lips. However, it’s important to select the oils carefully to avoid any potential skin irritations or adverse reactions.
First and foremost, it’s essential to avoid “hot oils” such as cinnamon bark, clove, and oregano. These oils can be irritating to the skin and may cause discomfort when applied to the lips. Similarly, citrus oils like lemon, lime, and grapefruit should be avoided as they can increase the skin’s sensitivity to UV rays, potentially leading to sunburn.
Instead, opt for mildly scented essential oils that are gentle on the skin. Some good options include lavender, chamomile, and vanilla. These oils not only provide a pleasant aroma but also offer soothing and moisturizing properties for your lips.
Remember, it’s always best to perform a patch test before using any new essential oil to ensure you don’t have any allergies or sensitivities.
Lastly, it’s important to note the expiration date of your homemade lip balm. While the shelf life may vary depending on the ingredients used, most homemade lip balms last for about a year before they start to lose their effectiveness. It’s always a good idea to label your lip balm with the date it was made to keep track of its freshness.
| Essential Oils to Avoid | Mildly Scented Essential Oils |
|---|---|
| Cinnamon bark | Lavender |
| Clove | Chamomile |
| Oregano | Vanilla |
| Lemon | |
| Lime | |
| Grapefruit |
Troubleshooting Tips for Homemade Lip Balm
While making your own homemade beeswax lip balm can be a rewarding and satisfying experience, you may encounter a few issues along the way. One common problem is a grainy texture, which can make the lip balm less pleasant to use. To avoid this, it’s important to take certain steps during the preparation process.
If you notice a grainy texture in your homemade lip balm, it can often be attributed to the shea butter used in the recipe. To prevent this, it is recommended to heat the shea butter to 175°F before incorporating it into the mixture. This ensures that the shea butter fully melts and blends smoothly with the other ingredients, resulting in a smoother texture.
Another tip to avoid consistency issues is to adjust the amount of beeswax or coconut oil used in the recipe. Beeswax can affect the consistency of the lip balm, so if you find that your lip balm is too hard or too soft, try adding more or less beeswax or coconut oil to achieve the desired texture.
To prevent crystallization and maintain a smooth consistency, it can also be helpful to store the finished lip balm in the refrigerator. This helps the lip balm cool and harden evenly, reducing the likelihood of graininess.

Common Issues with Homemade Lip Balm and How to Fix Them:
| Issue | Possible Causes | Solution |
|---|---|---|
| Grainy texture | Insufficient melting of shea butter | Heat shea butter to 175°F before incorporating |
| Consistency issues | Incorrect ratio of beeswax and coconut oil | Adjust the amount of beeswax or coconut oil |
By following these troubleshooting tips, you can overcome common issues and create a smooth and nourishing homemade lip balm. Remember, practice makes perfect, and with a little experimentation, you’ll soon find the perfect balance of ingredients for your own personalized lip care solution.
Alternative Options for Natural Lip Balm
If you prefer not to make your own homemade beeswax lip balm, there are several brands that offer safe and effective alternatives. These brands prioritize using clean and nourishing ingredients to provide you with a natural lip care solution. Here are a few options to consider:
Beautycounter Lip Conditioners
Beautycounter Lip Conditioners are known for their high-quality and clean formulations. They are made with natural ingredients and come in a variety of scents, allowing you to choose the one that suits your preferences. These lip conditioners not only nourish and moisturize your lips but also provide a smooth application.
Primally Pure Lip Balm
Primally Pure Lip Balm is another excellent option for those looking for a natural lip care solution. Their lip balms are made with soothing oils that help to hydrate and protect your lips. They come in different flavors, including lavender, peppermint, and citrus, offering a delightful sensory experience.
Perfect Supplements Lip Nutrients
If you prefer organic lip care products, Perfect Supplements Lip Nutrients might be the perfect choice for you. These lip balms contain nourishing ingredients that promote healthy and hydrated lips. They are crafted with care to ensure that you are using a product that is safe and effective.
By opting for these alternative natural lip balm options, you can still enjoy the benefits of a nourishing and effective lip care solution without the need to DIY. These brands prioritize using clean and natural ingredients, allowing you to feel good about the products you are using on your lips.
Additional Tips for Lip Balm Usage
When it comes to using lip balm, there are a few additional tips that can help you get the most out of your homemade beeswax lip balm. From application to storage, taking proper care of your lip balm will ensure that it remains effective and safe for use.
Applying Lip Balm
To apply lip balm, start by making sure your lips are clean and dry. Using clean fingers or a lip balm applicator, apply a thin layer of lip balm to your lips, covering the entire surface. You can use lip balm throughout the day as needed, especially before bed and in harsh weather conditions.
Storing Lip Balm
To keep your homemade lip balm in optimal condition, it’s important to store it properly. Make sure to keep your lip balm in a cool place away from direct sunlight. Excessive heat can cause the lip balm to melt, while prolonged exposure to sunlight can lead to changes in texture and quality.
Avoiding Sharing Lip Balm
While it may be tempting to share your lip balm with friends or family members, it’s best to avoid doing so. Sharing lip balm can inadvertently spread germs and bacteria, increasing the risk of infections or other issues. Instead, encourage others to use their own lip balm or provide them with hygiene-friendly alternatives like disposable applicators.
Possible Allergies or Adverse Reactions
It’s important to note that some individuals may have allergies or experience adverse reactions to certain ingredients in lip balm. If you notice any redness, swelling, itching, or other signs of irritation after using lip balm, discontinue use immediately and seek advice from a dermatologist or healthcare professional. They can help identify the cause of the reaction and provide guidance on suitable alternatives.
By following these additional tips for lip balm usage, you can ensure that your homemade beeswax lip balm remains effective and safe for use. Taking proper care of your lip balm will help keep your lips moisturized, protected, and healthy.
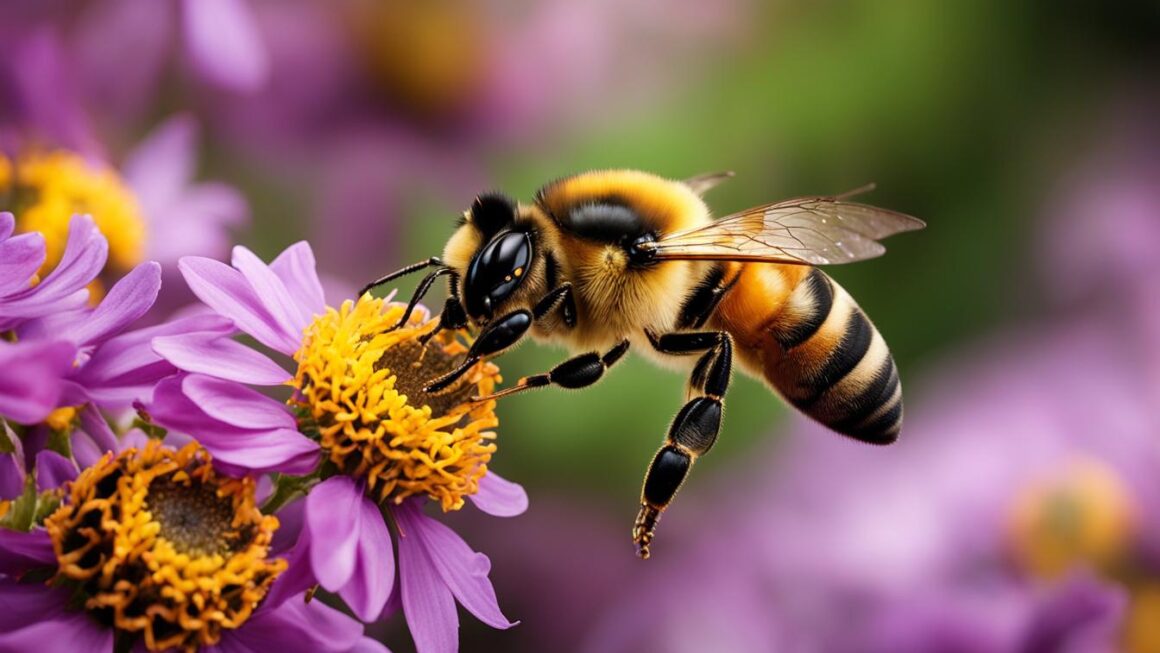
The Benefits of Beeswax in Lip Balm
Beeswax is a key ingredient in homemade lip balm, offering a range of benefits for your lips. One of the primary advantages of using beeswax is its ability to create a protective barrier on the skin. This barrier helps to lock in moisture and prevent dryness, ensuring that your lips stay well-hydrated and nourished.
In addition to its protective properties, beeswax also has excellent moisturizing properties. When applied to the lips, it forms a smooth and hydrating layer that keeps them soft and supple. This natural ingredient penetrates deeply into the skin, promoting long-lasting moisture and preventing moisture loss.
Using lip balm with beeswax is not only beneficial for your lips but also for the environment. Beeswax is a natural and eco-friendly option compared to petroleum-based alternatives commonly found in commercial lip care products. By choosing beeswax-based lip balm, you are supporting sustainable practices and reducing your impact on the planet.
| Benefits of Beeswax in Lip Balm |
|---|
| Protective Barrier |
| Moisturizing Properties |
| Eco-friendly Option |
By creating a protective barrier and providing deep moisturization, beeswax contributes to the overall health and well-being of your lips. Its eco-friendly nature also makes it a preferred choice for those who prioritize sustainability. So, indulge in the nourishing benefits of beeswax lip balm and enjoy soft, moisturized lips all year round.
Conclusion
Creating your own homemade beeswax lip balm is a simple and rewarding process. By using natural ingredients and avoiding harmful additives, you can nourish and protect your lips with a safe and effective lip care solution. Homemade beeswax lip balm offers the benefits of moisturization, protection, and eco-friendliness.
With just a few simple steps, you can make a nourishing formula that will keep your lips soft and healthy. Say goodbye to dry and chapped lips and hello to a healthier and more radiant smile. The natural lip care provided by homemade beeswax lip balm is a great way to take care of your lips without exposing them to harsh chemicals.
Whether you choose to make your own lip balm or opt for a trusted brand, prioritizing natural lip care is essential. Your lips deserve the best care possible, and with homemade beeswax lip balm, you can provide them with the nourishment they need. Embrace the benefits of homemade lip balm and enjoy the natural and nourishing formula it offers.
FAQ
Is homemade beeswax lip balm better than store-bought options?
Homemade beeswax lip balm is a natural and nourishing lip care solution. It contains clean ingredients and provides effective moisturization and protection for your lips.
What are the key ingredients for homemade beeswax lip balm?
The key ingredients include coconut oil, beeswax pellets, shea butter, and peppermint essential oil. These ingredients moisturize the lips and create a protective barrier.
How do I make homemade beeswax lip balm?
Start by melting the beeswax pellets and then add coconut oil and shea butter. Microwave the mixture until fully melted. Stir in peppermint essential oil and pour the mixture into lip balm containers to cool and harden.
What essential oils should I avoid when making lip balm?
“Hot oils” like cinnamon bark, clove, and oregano can cause skin irritation and should be avoided. Citrus oils also increase UV sensitivity. Mildly scented oils may not have a strong aroma in lip balm.
How can I prevent grainy texture in homemade lip balm?
To avoid grainy texture, heat the shea butter before incorporating it into the recipe. Placing the finished lip balm in the refrigerator can also help prevent crystallization.
Are there alternative options for natural lip balm?
Yes, if you prefer not to DIY, there are brands like Beautycounter Lip Conditioners, Primally Pure Lip Balm, and Perfect Supplements Lip Nutrients that offer safe and effective natural lip balm options.
How should I apply and store lip balm?
Apply a thin layer whenever needed, especially before bed and in harsh weather. Store lip balm in a cool place away from direct sunlight to prevent melting. Avoid sharing lip balm to prevent the spread of germs.
What are the benefits of beeswax in lip balm?
Beeswax acts as a protective barrier, locking in moisture and preventing dryness. It also provides moisturizing properties, making the lips softer and suppler. Using beeswax in lip balm is an eco-friendly option compared to petroleum-based alternatives.