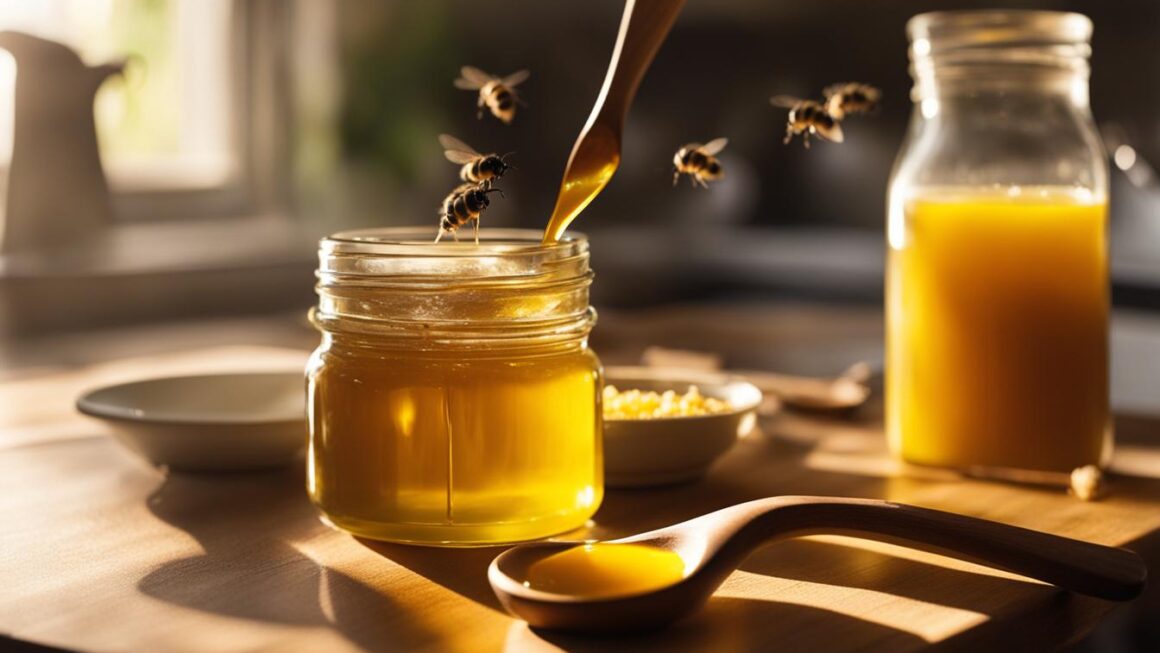
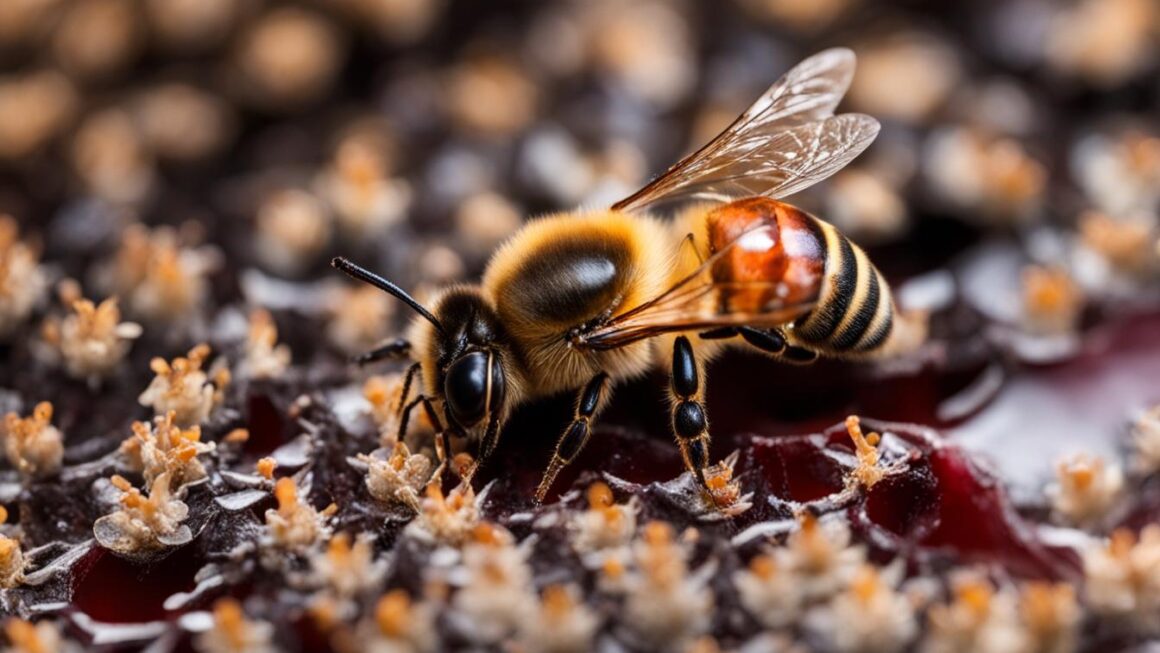
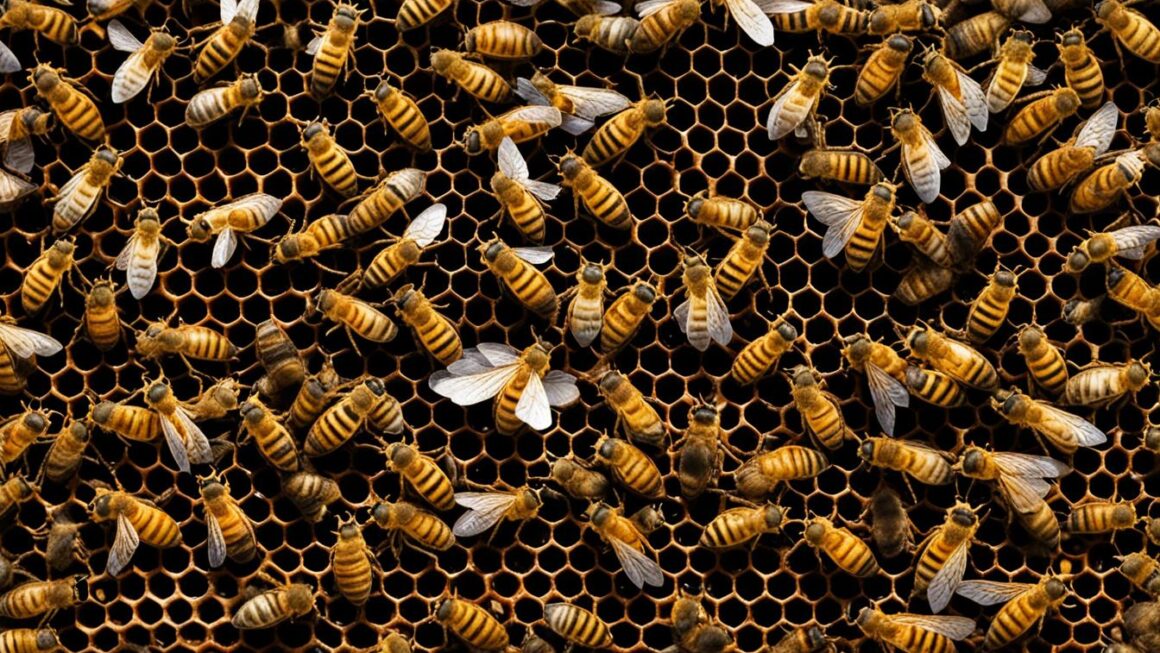
Making your own lip balm using beeswax is a simple and cost-effective way to create a soothing and natural product. With the right ingredients and a few easy steps, you can have a homemade lip balm that is comparable to popular brands like Burt’s Bees. In this article, we will guide you through the process of creating your own DIY lip balm using beeswax.
Key Takeaways
- Creating your own lip balm using beeswax is a simple and cost-effective option.
- Beeswax provides a protective barrier, moisturizes the lips, and has anti-inflammatory properties.
- The essential ingredients for homemade beeswax lip balm include beeswax, shea butter, coconut oil, and essential oils.
- Follow a step-by-step process to make your own beeswax lip balm at home.
- Experiment with different essential oils and container options to customize your lip balm.
The Benefits of Beeswax in Lip Balm
Beeswax is a valuable ingredient in lip balms due to its numerous benefits. When used in lip balm formulations, beeswax acts as a protective barrier, sealing moisture into the lips and preventing dryness. This natural ingredient also possesses emollient properties, which help to soften and smooth the lips, leaving them feeling nourished and supple.
One of the key advantages of using beeswax in lip balm is its anti-inflammatory and antibacterial properties. These properties can help soothe and heal chapped or irritated lips, making it an excellent choice for individuals with sensitive skin or prone to lip conditions. By incorporating beeswax into your homemade lip balm, you can ensure that your lips receive the nourishment and protection they need.
“Beeswax provides a natural barrier to protect the lips and helps to retain moisture.”
Another notable benefit of beeswax is its long-lasting effect. Due to its solid nature, beeswax provides a more durable texture to lip balm, allowing it to stay on the lips for an extended period. This means that you won’t need to reapply the lip balm as frequently, providing continuous hydration and protection throughout the day.
In summary, the use of beeswax in lip balm offers several advantages, including its moisturizing and protective properties, as well as its ability to soothe and heal the lips. By incorporating beeswax into your homemade lip balm recipe, you can create a natural and effective product that nourishes and enhances the health of your lips.
Table: Properties of Beeswax in Lip Balm
| Benefits | Description |
|---|---|
| Sealing Moisture | Beeswax forms a protective barrier, preventing moisture loss and keeping lips hydrated. |
| Emollient Properties | Beeswax helps to soften and smooth the lips, improving their texture and appearance. |
| Anti-inflammatory | Beeswax has anti-inflammatory properties that can calm and soothe irritated lips. |
| Antibacterial | Beeswax’s antibacterial properties can help prevent infections and promote healing. |
| Long-lasting | The solid nature of beeswax provides a more durable lip balm that stays on the lips for extended periods, reducing the need for frequent reapplication. |
Essential Ingredients for Homemade Beeswax Lip Balm
Making your own beeswax lip balm allows you to control the ingredients and create a product that is tailored to your preferences. To create a nourishing and moisturizing lip balm, there are a few essential ingredients that you will need.
1. Beeswax: Beeswax is the main ingredient in homemade lip balm and provides a protective barrier on the lips. It helps to seal in moisture and prevent dryness. You can purchase beeswax in pellet or block form.
2. Shea Butter: Shea butter is another key ingredient that adds creaminess and richness to the lip balm. It is deeply moisturizing and helps to nourish the lips. Look for raw, unrefined shea butter for the best results.
3. Coconut Oil: Coconut oil is known for its moisturizing properties and adds a smooth texture to the lip balm. It helps to hydrate and soften the lips, leaving them feeling supple and conditioned.
4. Essential Oils: Essential oils are optional but can be added to provide fragrance and additional benefits. Choose essential oils that are safe for lip use and have a pleasant scent. Popular options include peppermint, lavender, and citrus oils.
By combining these essential ingredients, you can create a lip balm that is both nourishing and soothing for your lips. Experiment with different ratios and variations to find your perfect homemade beeswax lip balm recipe.
| Ingredient | Properties |
|---|---|
| Beeswax | Provides a protective barrier, seals in moisture |
| Shea Butter | Deeply moisturizing, nourishes the lips |
| Coconut Oil | Moisturizing, softens and conditions the lips |
| Essential Oils | Adds fragrance, provides additional benefits |
How to Make Beeswax Lip Balm
Creating your own beeswax lip balm is a simple and rewarding DIY project. With just a few essential ingredients and some basic steps, you can have a homemade lip balm that is nourishing and soothing for your lips. Follow this step-by-step guide to make your very own beeswax lip balm:
- Melt equal parts of beeswax, shea butter, and coconut oil in a microwave-safe container or using a double boiler. This can be done in short intervals in the microwave or by placing the container in a pot of simmering water.
- Once the mixture is completely melted, carefully remove it from the heat source. Be sure to use oven mitts or a towel to avoid burns.
- Add your desired essential oils for fragrance. This is where you can get creative and customize your lip balm with scents like peppermint, lavender, or citrus.
- Mix well to ensure that the essential oils are evenly distributed throughout the mixture.
- Pour the mixture into lip balm containers. You can use small tins, tubes, or plastic containers, depending on your preference. Fill them to the top, leaving a little space for the lip balm to solidify.
- Allow the lip balm to cool and set completely. This may take a couple of hours, depending on the temperature of your room.
- Once cooled, your homemade beeswax lip balm is ready to use!
Creating your own lip balm allows you to control the ingredients and customize the fragrance and texture to your liking. It’s a fun and easy project that yields a natural and nourishing product. Experiment with different essential oils and have fun making your own personalized beeswax lip balm.
Tips for Making Beeswax Lip Balm
Here are a few additional tips to consider when making beeswax lip balm:
- Be sure to use high-quality ingredients, especially when using essential oils. Look for organic and pure oils to ensure the best results.
- If you prefer a softer lip balm, you can increase the amount of coconut oil and reduce the amount of beeswax in the recipe.
- If you want a tinted lip balm, you can add natural colorants like beetroot powder or cocoa powder. Start with a small amount and adjust until you achieve the desired color.
- Label your lip balm containers with the ingredients and the date of creation. This will help you keep track of the freshness and shelf life of your lip balm.
Now that you know how to make your own beeswax lip balm, you can enjoy the benefits of a natural and nourishing product. Say goodbye to dry and chapped lips, and say hello to soft and moisturized lips with your homemade lip balm.
Choosing Essential Oils for Beeswax Lip Balm
When it comes to creating your own homemade beeswax lip balm, choosing the right essential oils is essential. Not only do essential oils provide a pleasant fragrance, but they also offer additional benefits for the lips. From soothing properties to refreshing scents, the options are endless. Here are some popular essential oils to consider:
- Peppermint oil: Known for its cooling effect, peppermint oil can provide a refreshing sensation on the lips.
- Lavender oil: With its calming and soothing properties, lavender oil can help alleviate dryness and promote relaxation.
- Grapefruit oil: Grapefruit oil brings a fruity and uplifting scent to your lip balm, creating a refreshing experience.
- Citrus oils: Lemon, lime, and orange oils can add a burst of citrus fragrance to your lip balm, awakening your senses.
Of course, these are just a few examples of the many essential oils available. Feel free to experiment with different combinations and find the scents that resonate with you. Remember to use high-quality, pure essential oils for the best results in your homemade lip balm.
“The right essential oils not only provide a pleasant scent but also offer additional benefits for the lips.”
When incorporating essential oils into your lip balm recipe, it’s important to consider the desired intensity of the fragrance. Essential oils vary in strength, so start with a small amount and add more if needed. Additionally, some essential oils may have a stronger scent and may require fewer drops compared to others.
Creating Custom Lip Balm Scents
If you’re feeling adventurous, you can also create your own custom lip balm scents by combining different essential oils. For example, a blend of peppermint and lavender can provide both a cooling and soothing effect. Or, try mixing grapefruit and citrus oils for a zesty and uplifting fragrance.
Remember, the key is to have fun and experiment with different combinations until you find your perfect lip balm scent. Whether you prefer a soothing and relaxing aroma or a vibrant and energizing fragrance, customizing your lip balm with essential oils allows you to personalize your self-care routine.
Table: Essential Oils and their Benefits for Lip Balm
| Essential Oil | Benefits |
|---|---|
| Peppermint oil | Cooling effect, refreshing sensation |
| Lavender oil | Calming, soothing, alleviates dryness |
| Grapefruit oil | Uplifting, fruity scent |
| Citrus oils (lemon, lime, orange) | Bright, citrus fragrance |
Lip Balm Container Options: Finding the Perfect Packaging
When it comes to homemade lip balm, choosing the right container is essential for both practicality and aesthetics. There are various types of lip balm containers available, each with its own benefits. From traditional lip balm tubes to small plastic containers, your choice will depend on your personal preference and the intended use of your lip balm.
One popular option is the stainless steel tin with a screw-on lid. These tins are not only durable and reusable but also offer a rustic and vintage charm. They are great for those who prefer a more eco-friendly packaging option. Another common choice is the traditional lip balm tube, which is convenient and easy to use. These tubes are compact and perfect for carrying in your pocket or purse.
If you prefer a clear packaging option that allows you to see the product inside, small plastic containers are a good choice. These containers come in various shapes and sizes and are often available in bulk, making them cost-effective for larger batches of lip balm. Additionally, colored containers can add a professional and aesthetic appeal to your homemade lip balm.
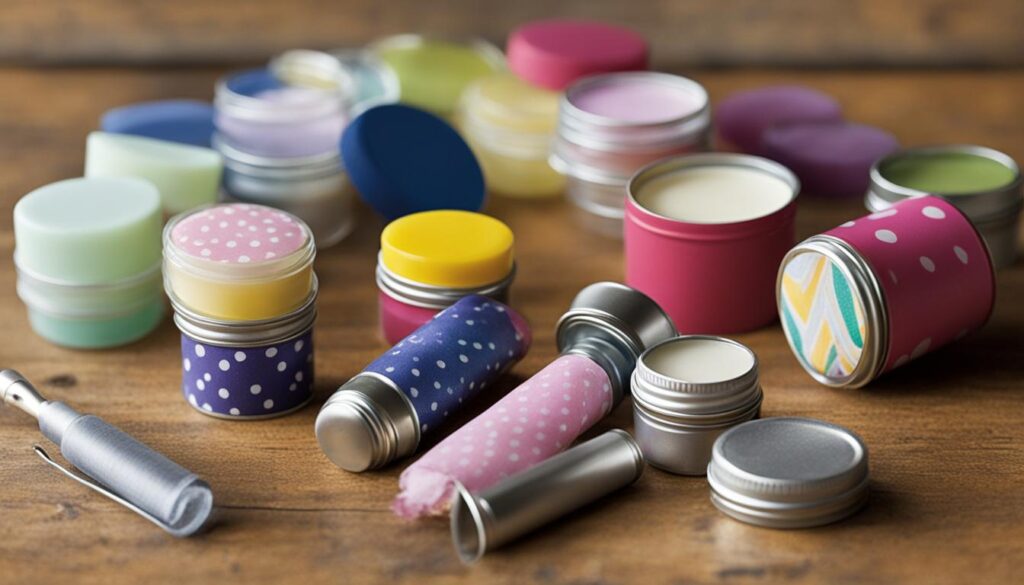
Table: Comparison of Lip Balm Container Options
| Container Type | Pros | Cons |
|---|---|---|
| Stainless Steel Tins | Durable and reusable Offer a rustic and vintage charm Eco-friendly |
May be bulkier than other options |
| Lip Balm Tubes | Convenient and easy to use Compact and portable |
Opaque, so you can’t see the product inside |
| Small Plastic Containers | Clear packaging allows visibility Various shapes and sizes available Cost-effective for larger batches |
May not be as durable as other options |
When choosing a lip balm container, ensure that it is clean and suitable for lip balm storage. Consider the overall presentation, functionality, and your target audience’s preferences. Whether you opt for the nostalgic appeal of stainless steel tins or the convenience of lip balm tubes, selecting the right container will contribute to the overall success of your homemade lip balm.
Packaging and Labeling Your Homemade Lip Balm
If you plan on giving your homemade lip balm as a gift or selling it, packaging and labeling are important aspects to consider. Using attractive and functional packaging can enhance the overall presentation of your lip balm. Consider adding personalized labels with the product name, ingredients, and any special instructions. This will not only provide important information but also give your lip balm a professional touch.
Additionally, consider creative packaging options such as gift boxes or bags to make your homemade lip balm a thoughtful and attractive gift. This can be especially appealing for special occasions or when selling your products at craft fairs or local markets. The packaging should not only be visually appealing but also practical and sturdy to protect the lip balm during transportation and use.
Labeling Lip Balm Containers
When labeling your lip balm containers, it’s important to include all the necessary information. This includes the product name, list of ingredients, net weight or volume, and any special instructions or warnings. You may also want to include information about the shelf life of the lip balm and your contact details, especially if you plan on selling your products. Clear and legible labeling will provide transparency and build trust with your customers.
“Using attractive and functional packaging can enhance the overall presentation of your lip balm.”
Homemade Lip Balm Gift Ideas
Homemade lip balm makes a wonderful gift for friends, family, or as party favors for special occasions. Consider creating gift sets with multiple flavors or scents, packaged in a beautiful box or basket. You can also personalize the labels with the recipient’s name or a special message. Adding a small note or card with instructions or tips on using the lip balm can also be a thoughtful touch.
Another idea is to create custom lip balm favors for events such as weddings, baby showers, or corporate events. You can customize the packaging with the event theme or logo, and even create a unique lip balm flavor or scent to match. These personalized lip balm favors will leave a lasting impression on your guests.
| Benefits of Packaging and Labeling |
|---|
| Enhances the presentation of your lip balm |
| Provides important information to customers |
| Adds a professional touch to your homemade products |
| Makes your lip balm more appealing as a gift |
| Builds trust with customers through clear labeling |
Adjusting the Recipe for Different Variations
Once you have mastered the basic beeswax lip balm recipe, you can begin experimenting with different variations and customizations. Adding unique flavors and scents to your lip balm can make it even more enjoyable to use. By incorporating different essential oils, you can create a wide range of flavors that cater to your personal preferences.
For example, if you love fruity scents, try adding a few drops of strawberry or orange essential oil to your lip balm mixture. These natural flavors will give your lip balm a delightful aroma. If you prefer more calming scents, consider using lavender or chamomile essential oil. These oils not only smell great but also have soothing properties that can help relax your senses.
Another way to customize your lip balm is by adding natural colorants. For a subtle hint of color, you can mix in a small amount of beetroot powder or cocoa powder. This will give your lip balm a tinted look without any artificial dyes. Experiment with different colorants to achieve your desired shade.
Table: Essential Oils and Colorants for Lip Balm
| Essential Oils | Colorants |
|---|---|
| Peppermint | Beetroot Powder |
| Lavender | Cocoa Powder |
| Grapefruit | |
| Orange |
As you can see, there are endless possibilities to customize your lip balm recipe. Get creative and have fun experimenting with different variations to find the perfect combination of flavors and colors that suit your preferences.
Storing and Shelf Life of Beeswax Lip Balm
Proper storage is essential for maintaining the quality and prolonging the shelf life of your homemade beeswax lip balm. Here are some tips to ensure your lip balm stays in optimal condition:
- Store your lip balm in a cool and dry place, away from direct sunlight. Heat can cause the lip balm to melt and lose its consistency.
- Ensure that the containers are tightly sealed to prevent air and moisture from getting in. This will help preserve the freshness and effectiveness of the lip balm.
- Avoid exposing the lip balm to extreme temperatures. Freezing temperatures can cause the lip balm to become hard and brittle, while excessive heat can cause it to melt or separate.
- If possible, use a spatula or clean fingers to apply the lip balm to prevent contamination and the introduction of bacteria. Avoid applying the lip balm directly from the container to your lips.
The shelf life of homemade lip balm can vary depending on the ingredients used and how it is stored. Generally, a well-made beeswax lip balm can last for several months to a year. However, it is recommended to use it within six months for the best results. Over time, the effectiveness and scent of the lip balm may diminish, so it’s always a good idea to regularly check and replace any expired or compromised lip balm.
| Storage Tips | Shelf Life |
|---|---|
| Store in a cool and dry place | Up to 1 year |
| Tightly seal containers | Up to 1 year |
| Avoid extreme temperatures | Up to 1 year |
| Use a spatula or clean fingers for application | Up to 1 year |
| Note: Shelf life may vary depending on ingredients and storage conditions. | |
By following these storage tips and using your homemade lip balm within the recommended timeframe, you can ensure that it remains fresh, effective, and ready to provide nourishment and hydration to your lips.
Benefits of Using Homemade Beeswax Lip Balm
Making your own lip balm using beeswax has numerous advantages compared to store-bought options. One of the key benefits of homemade lip balm is the ability to have full control over the ingredients. By using natural and safe products, you can ensure that you are nourishing your lips without any unnecessary chemicals or additives. This is particularly important for those with sensitive skin or allergies.
Another advantage of homemade lip balm is cost-effectiveness. Buying multiple tubes or jars of lip balm can add up over time, especially if you’re using it regularly. Creating your own lip balm allows you to save money in the long run, as the ingredients are often more affordable and can be used to make multiple batches.
Additionally, making your own lip balm gives you the freedom to customize the fragrance and texture according to your preferences. You can experiment with different essential oils to create unique scents and even add natural colorants for tinted lip balms. This level of personalization ensures that you have a lip balm that perfectly suits your tastes and needs.
Overall, using homemade beeswax lip balm provides a natural and nourishing option for lip care. With its customizable nature, cost-effectiveness, and control over ingredients, making your own lip balm is a rewarding DIY project that can benefit both your lips and your wallet.
Table: Homemade Lip Balm vs Store-Bought
| Homemade Lip Balm | Store-Bought Lip Balm | |
|---|---|---|
| Ingredients | Can be customized with natural and safe ingredients. | May contain artificial additives and chemicals. |
| Cost | More cost-effective in the long run. | Can be more expensive, especially for high-quality brands. |
| Customization | Fragrance and texture can be tailored to personal preferences. | Limited options for customization. |
| Quality | Nourishing and natural ingredients. | Varies depending on the brand and ingredients used. |
| Control | Have full control over the entire process. | Relies on the decisions made by the manufacturer. |
Benefits of Homemade Lip Balm
- Customizable: You can create unique fragrances and textures to suit your preferences.
- Natural Ingredients: Homemade lip balm allows you to use natural and safe ingredients on your lips.
- Cost-Effective: Making your own lip balm can save you money compared to buying store-bought brands.
- Control Over Ingredients: You have full control over the ingredients used, ensuring a product that meets your standards.
- Sustainability: Homemade lip balm can be made using sustainable and eco-friendly ingredients.
Using homemade lip balm not only provides nourishment and protection for your lips but also gives you the satisfaction of creating a personalized product. With its benefits of customization, cost-effectiveness, and natural ingredients, homemade beeswax lip balm is a great choice for anyone looking for a more personalized and sustainable option.
Conclusion
Making your own beeswax lip balm is a fun and rewarding DIY project. With a few essential ingredients and some creativity, you can create a personalized lip balm that is both nourishing and enjoyable to use. Whether you’re making lip balm for yourself or as a gift, the process is simple and the results are satisfying.
Enjoy the benefits of a homemade lip balm that is free from harmful chemicals and provides natural hydration for your lips. By using beeswax, shea butter, coconut oil, and essential oils, you can create a soothing and moisturizing lip balm that rivals popular brands. Plus, with the ability to customize the fragrance and texture, you can truly make it your own.
Start experimenting with different variations and flavors to find your perfect lip balm recipe. From refreshing peppermint to calming lavender, the options are endless. Embrace the versatility of homemade lip balm and discover the joy of nourished and healthy lips. Get started on your DIY journey and enjoy the rewards of a homemade beeswax lip balm!
FAQ
What are the benefits of using beeswax in lip balm?
Beeswax provides a protective barrier, seals in moisture, and has natural emollient, anti-inflammatory, and antibacterial properties.
What ingredients do I need to make homemade beeswax lip balm?
You will need beeswax, shea butter, coconut oil, and essential oils for fragrance.
How do I make beeswax lip balm?
Melt equal parts of beeswax, shea butter, and coconut oil, add essential oils, mix well, and pour into lip balm containers.
What essential oils can I use for fragrance in my lip balm?
Popular options include peppermint, lavender, grapefruit, and citrus oils.
What are some container options for storing homemade lip balm?
Stainless steel tins, lip balm tubes, and small plastic containers are popular choices.
How should I package and label my homemade lip balm?
Consider personalized labels with the product name, ingredients, and any special instructions, and creative packaging options such as gift boxes or bags.
Can I customize my lip balm recipe?
Yes, you can experiment with different essential oils for unique flavors and scents, and even add natural colorants for tinted lip balms.
How should I store my homemade lip balm?
Store it in a cool and dry place, away from direct sunlight, in properly sealed containers.
How long does homemade beeswax lip balm last?
It can last for several months to a year, but it is recommended to use it within six months for the best results.
What are the benefits of using homemade beeswax lip balm?
Using homemade lip balm allows you to control the ingredients, it can be cost-effective, and you can customize the fragrance and texture to suit your preferences.

